

Home & Garden

Before You Seed or Sod: A Pre-Lawn Installation Checklist

Share
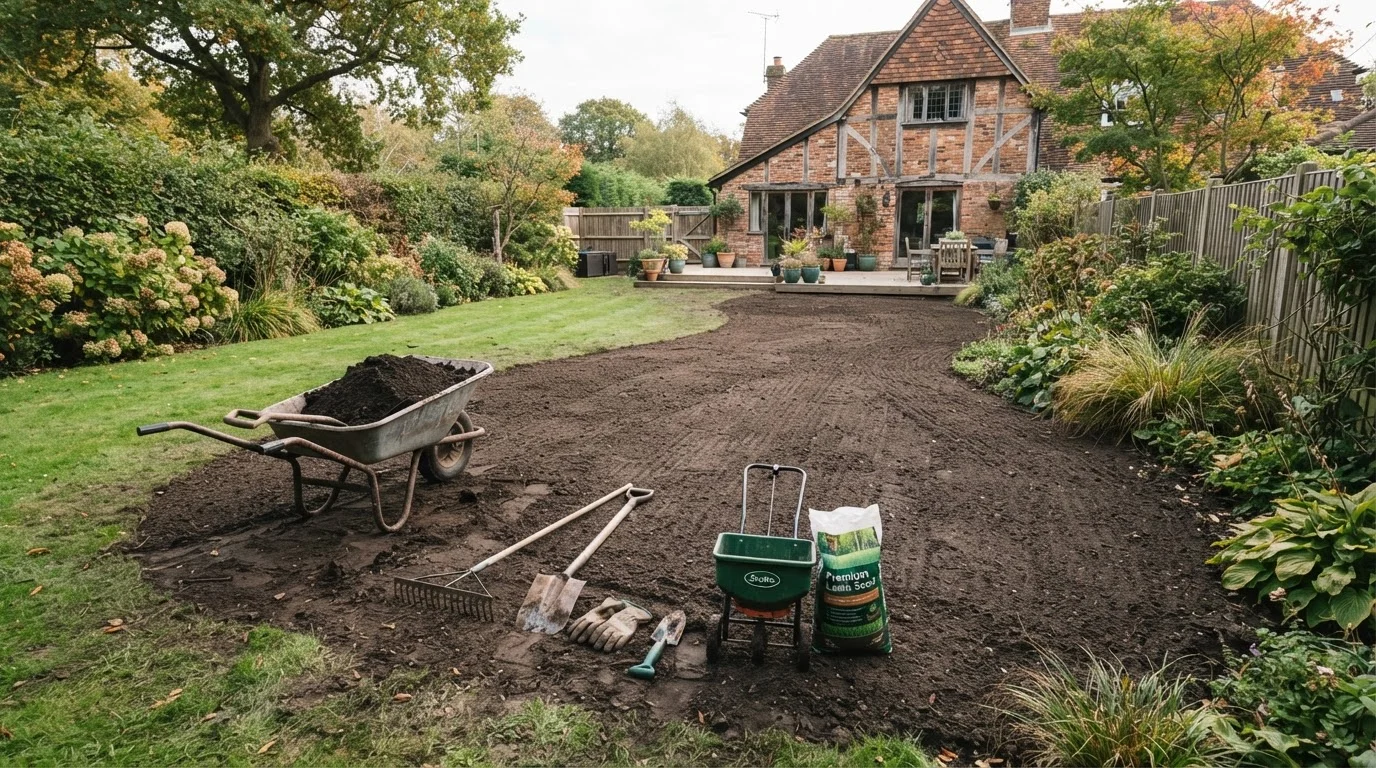
Bare soil in a backyard being raked and leveled in preparation for lawn seeding or sodding

Key Takeaways

Soil testing before installation prevents years of struggling with the wrong pH or nutrient levels.
Grading the ground away from your home's foundation is essential for drainage and structural safety.
Timing your installation to match your grass species' active growth window dramatically improves success.
Sod and seed have different moisture requirements — knowing the difference saves water and prevents failure.
Removing weeds and debris before installation prevents them from competing with new grass roots.
30–60 min

Summary

22 items · 30–60 minutes to review; 1–3 days to complete prep work

Why Preparation Matters More Than the Grass You Choose

Most lawn failures happen before a single seed is sown or a sod roll is laid. Compacted soil, poor drainage, an incorrect pH, or bad timing can doom even the highest-quality grass. Skipping the groundwork is the single most common reason homeowners find themselves redoing a lawn within two or three seasons.

This checklist walks you through every preparation step — from soil testing to final grading — so your new lawn gets the foundation it needs to establish quickly and hold up over time. Whether you're starting from bare dirt or replacing a patchy, struggling yard, the steps are the same. Think of this as your quality-control pass before you spend money on materials or labor.

If you're planning to bring in outside help, reviewing our contractor vetting checklist beforehand will help you ask the right questions about site prep and hold any hired crew to a clear standard.

Site Assessment

Walk the full area and map out any existing drainage patterns, low spots, or areas where water pools after rain. Must
Identify underground utilities by calling your local 811 service before any digging or tilling begins. Must
Measure the installation area accurately so you can calculate the correct quantity of seed or sod to order. Must
Note the sun exposure across the site — full sun, partial shade, or full shade — to confirm it matches your chosen grass species' light requirements. Must

Soil Testing and Amendment

Collect a soil sample and submit it to your local cooperative extension office or a certified lab for a full pH and nutrient analysis. Must
Apply lime if soil pH is below 6.0 or sulfur if it's above 7.0, following the lab's recommended rates — not generic package directions. Must
Incorporate a starter fertilizer (high in phosphorus) into the top 2–4 inches of soil to support root development, unless your soil test results indicate excess phosphorus. Should
Add organic matter such as compost if the soil is heavily clay-based or sandy, working it in to a depth of at least 3 inches. Should

Weed and Debris Removal

Kill or remove all existing vegetation, including weeds and grass, using mechanical removal or a non-residual herbicide well before installation day. Must
Wait the full herbicide re-entry interval specified on the product label before seeding or sodding — residual chemicals can inhibit germination. Must
Rake out all rocks, roots, debris, and clods larger than half an inch from the top 2 inches of soil. Must
Check for and remove any buried construction debris, especially in newly built homes where fill soil is common. Should

Grading and Drainage

Grade the soil so it slopes away from your home's foundation at a minimum of 1 inch drop per 10 feet of run. Must
Fill and level any low spots where water collects, using clean topsoil rather than subsoil or fill dirt. Must
Verify that grading transitions smoothly to any existing hardscaping — driveways, walkways, or garden beds — to avoid edge erosion. Should
Consider installing a French drain or channel drain in persistently wet areas before laying grass — drainage problems only worsen under turf. Nice to have

Final Soil Prep

Till or loosen compacted soil to a depth of 4–6 inches using a rototiller or garden fork before final grading. Must
Lightly firm the loosened soil with a lawn roller filled to about one-third capacity so the surface is firm but not compacted — your footprint should leave only a shallow impression. Must
Water the prepared soil lightly one to two days before installation to settle it and encourage any remaining weed seeds to germinate — then remove those seedlings. Should

Pre-Installation Timing Check

Confirm your grass species is appropriate for the region and that installation timing aligns with its active growth window. Must
Check the 10-day weather forecast and avoid scheduling installation before forecast temperatures below 50°F (for warm-season) or above 90°F (for cool-season) grass. Must
Arrange your irrigation plan — whether a hose, sprinkler, or in-ground system — before install day so watering can begin immediately after placement. Must

Tools and Materials You'll Need On Hand

Before you work through the checklist, gather the tools and inputs that make the prep work possible. Having these ready prevents delays that can push your install past the ideal planting window.

Required

Soil test kit or lab submission

Determines pH and nutrient levels so you amend correctly rather than guessing.

Required

Garden rake

Levels soil, breaks up clods, and removes surface debris before installation.

Required

Lawn roller

Firms prepared soil to the correct density before seeding or sodding.

Optional

Rototiller (rented)

Loosens compacted soil to the required depth for root establishment.

Required

Tape measure or measuring wheel

Accurately measures the installation area so you order the right amount of seed or sod.

Required

Sprinkler or irrigation setup

Delivers consistent moisture during the critical first two to three weeks of establishment.

Optional

Starter fertilizer

Supplies phosphorus to encourage strong root growth during establishment.

For larger areas or significant grading needs, renting a walk-behind sod cutter, rototiller, or plate compactor may be worthwhile. Evaluate the scope of your project honestly — and budget accordingly before purchasing seed or sod. Our pre-purchase checklist can help you think through any significant material investment.

Understanding Timing: Seed vs. Sod by Season

Timing is one of the most overlooked variables in lawn installation. Cool-season grasses — such as tall fescue, Kentucky bluegrass, and perennial ryegrass — establish best when seeded in late summer to early fall, or secondarily in early spring. Warm-season grasses — such as Bermuda, Zoysia, and St. Augustine — should be installed in late spring through early summer when soil temperatures are consistently above 65°F.

Sod has slightly more flexibility than seed because it arrives with an established root mat, but it still needs warm enough soil to root down and cool enough air to prevent heat stress during establishment. Avoid installing either seed or sod during drought conditions, temperature extremes, or immediately before a heavy rain event.

Don't Skip the Post-Herbicide Wait Period

If you used a non-selective herbicide to clear existing vegetation, check the label carefully for the recommended interval before seeding or sodding — some products require two to four weeks. Installing too early can prevent germination or kill young sod roots. When in doubt, wait longer rather than risk losing your investment.

Once your lawn is established, continue learning with our look at common lawn care myths — many well-intentioned maintenance habits actually undermine a healthy yard.

Home & Garden Editorial Team is the collective byline for our editorial team and contributor network. Articles published under this byline or an editorial pen name are researched, written, and reviewed according to our editorial standards for clarity, consistency, and independence before publication.

View all articles by Home & Garden Editorial Team →
Disclaimer: The content provided on our blog site traverses numerous categories, offering readers valuable and practical information. Readers can use the editorial team’s research and data to gain more insights into their topics of interest. However, they are requested not to treat the articles as conclusive. The website team cannot be held responsible for differences in data or inaccuracies found across other platforms. Please also note that the site might also miss out on various schemes and offers available that the readers may find more beneficial than the ones we cover.