

Key Takeaways
Why Renovation Order Is a Structural Problem, Not a Preference
Most renovation mistakes aren't caused by bad materials or poor craftsmanship - they're caused by doing things in the wrong order. Hang drywall before an electrician runs new circuits and you'll be cutting holes in your finished walls two weeks later. Lay tile before the subfloor is leveled and you'll hear cracking grout within months. The sequence of renovation work isn't arbitrary; it follows the logic of how buildings are actually built.
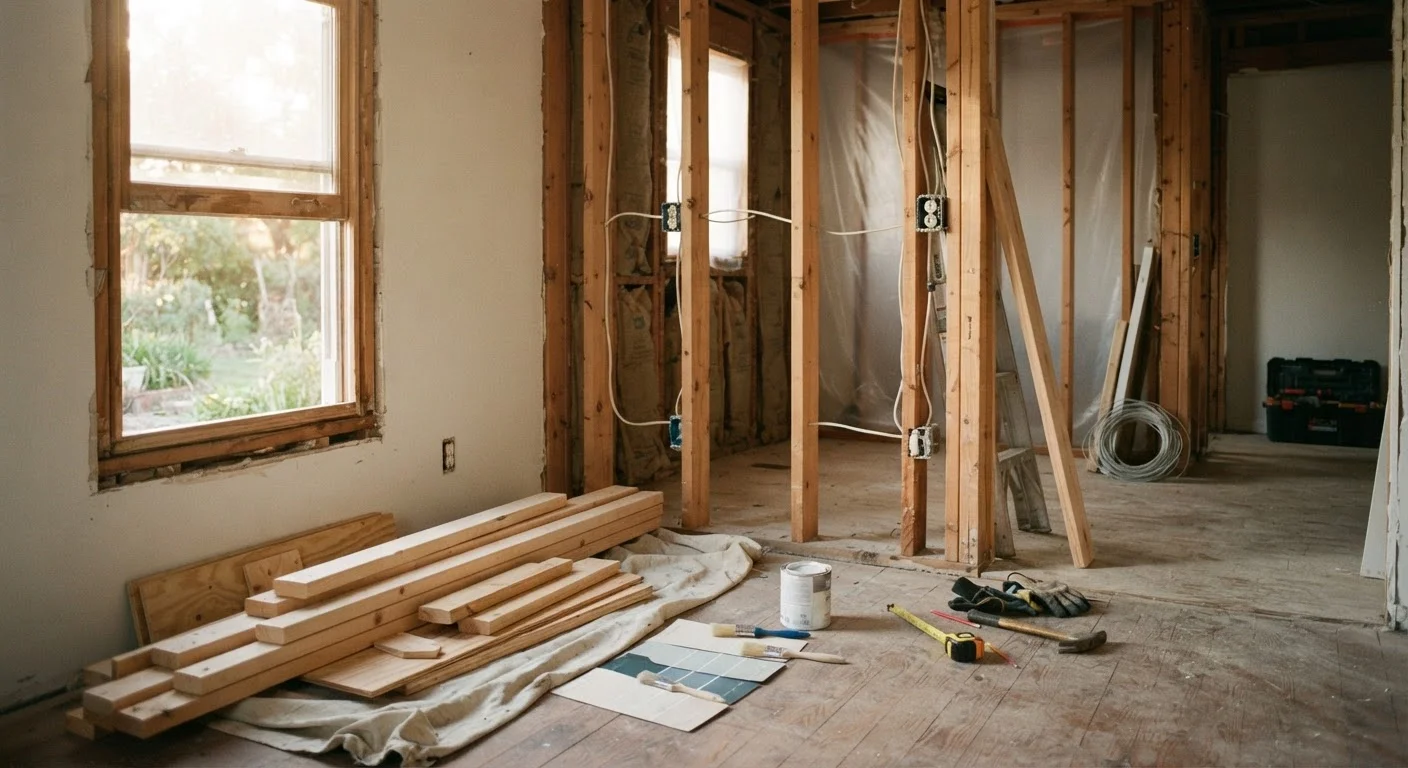
Think of a renovation as working through layers: structural shell, then mechanical systems (plumbing, electrical, HVAC), then insulation and drywall, then finishes and fixtures. Each layer depends on the one beneath it being complete and inspected. Skipping ahead costs far more to undo than it saves in the short term.
Before you swing a hammer, invest time in planning. Our pre-project clarity checklist can help you lock in goals and budget before the chaos of demolition begins.
The Universal Renovation Sequence: Start Here
Whether you're tackling one bathroom or an entire floor, the following order applies broadly across renovation types.
Complete all demolition before starting any new construction.
Demolition reveals hidden conditions - rotted framing, outdated wiring, failing pipes - that can change your entire plan. Starting new work before demo is complete means you may be building on a faulty foundation, literally or figuratively.
Handle structural repairs and framing before scheduling any mechanical trades.
Plumbers, electricians, and HVAC technicians route their systems through the framing. If framing changes happen after rough-in, systems must be rerouted - doubling labor costs and delaying inspections.
Schedule mechanical rough-ins (plumbing, electrical, HVAC) together and complete inspections before closing walls.
Permits for these systems typically require inspection while work is still visible. Closing up drywall before inspection means cutting back in - which is expensive and entirely avoidable.
Insulate and install drywall before beginning any finish work.
Drywall finishing involves sanding, which coats every surface in fine dust. Doing this before cabinets, trim, or paint protects finished elements and eliminates time-consuming cleanup from delicate surfaces.
Install flooring before setting final fixtures and appliances, but after cabinets in kitchens.
Flooring runs under appliances and beneath toilet bases, but in kitchens it's standard practice to float or tile up to cabinet toe kicks rather than under the full cabinet footprint - saving material and keeping cabinet height consistent.
Save painting walls and installing hardware, fixtures, and accessories for last.
Final paint and fixtures are the most damage-prone elements of any renovation. Installing them last means they're exposed to the minimum amount of trade activity, dust, and foot traffic.
Understanding the vocabulary on your permit forms and contractor estimates matters just as much as knowing the sequence. The plain-English renovation glossary breaks down terms like "rough-in," "load-bearing," and "R-value" so you can communicate clearly with every trade involved.
Room-by-Room Priorities: Where Projects Most Often Go Wrong
Certain rooms have their own sequencing landmines. Kitchens and bathrooms are the most common offenders because they concentrate plumbing, electrical, and finish work in tight spaces.
Kitchens: Cabinets go in after rough plumbing and electrical are inspected but before countertops. Countertops must be installed before the sink can be dropped in, which must happen before the plumber makes final connections. Installing flooring before cabinets means covering square footage you'll never see - and possibly affecting cabinet height if you tile first. Standard practice is to install cabinets on the subfloor, then bring flooring to the cabinet toe kicks.
Bathrooms: Waterproofing the shower membrane is non-negotiable before any tile is set. If the membrane is skipped or applied incorrectly and tile goes over it, water intrusion can destroy the subfloor and framing before you see a single visible symptom. See our end-to-end bathroom remodel guide for a detailed breakdown of scope and realistic timelines.
Living spaces: Ceiling work and any recessed lighting come before drywall finishing. Drywall finishing and priming come before trim. Trim is painted or stained before walls get their final color coat - or immediately after, depending on your painter's preferred method. Either way, floor installation and final floor finishing happen last.
Working With Contractors: Sequence Coordination Is Your Responsibility Too
Even when you're hiring out all the work, coordinating trade sequences is often left to the homeowner - particularly on smaller projects where a general contractor isn't managing the job. Trades scheduled out of order can sit idle, billing you for wait time, or worse, undo each other's completed work.
When vetting contractors, ask each one explicitly: "What do you need completed before your crew can start, and what needs to happen after you're done before the next trade comes in?" Document those dependencies. Our contractor vetting checklist covers the licensing, insurance, and scope questions to ask before anyone sets foot in your home.
Renovating room-by-room can feel isolating, but keep the whole-home picture in mind throughout. Decisions made in one room - running new electrical circuits, changing duct paths - can affect adjacent spaces. Our piece on why piecemeal decorating fails speaks to this from an aesthetic angle, but the structural version of that lesson is equally real.
This article provides general home improvement information for educational purposes. Always verify local building codes and permit requirements with your municipality before starting any renovation project. Work involving electrical, gas, plumbing, or structural systems should be performed by licensed professionals where required by law.