

Key Takeaways
Why Caulk Fails: The Real Story
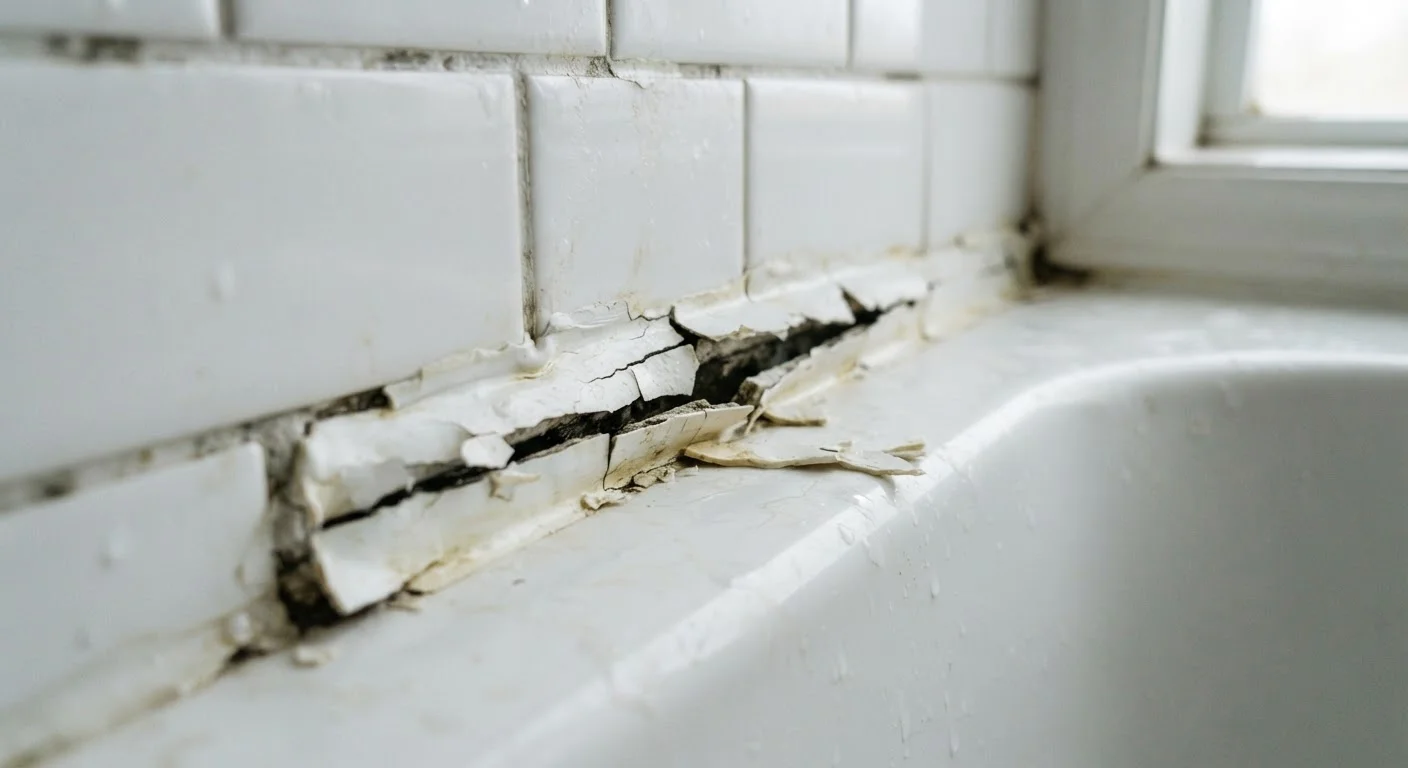
Caulk seems like one of the simplest materials a homeowner can work with - squeeze it in, smooth it out, done. Yet cracked, peeling, and shrinking caulk is one of the most common complaints in home repair. The frustrating part? It usually fails not because the product was defective, but because of avoidable mistakes made before and during application.
Understanding why caulk cracks puts you in control. Most failures come down to a handful of repeatable errors: the wrong product for the job, inadequate surface preparation, poor technique, or unfavorable conditions during curing. Once you recognize these patterns, applying caulk that actually lasts becomes straightforward.
If you're also thinking about sealing gaps around windows, doors, and exterior penetrations, see our pre-winter weatherproofing guide for a broader sealing strategy before cold weather sets in.
The Most Common Caulking Mistakes - And How to Avoid Them
Each of the mistakes below has a clear fix. Work through them before your next caulk job and you'll notice an immediate improvement in durability.
Skipping surface cleaning and failing to remove old caulk completely.
Why it happens: Old caulk looks like a reasonable base layer, and scraping it out is tedious work that many homeowners skip to save time.
Using interior latex caulk in wet or exterior areas where silicone or siliconized latex is required.
Why it happens: Paintable latex caulk is widely available and easy to apply, so many homeowners reach for it regardless of location - not realizing it degrades rapidly when constantly exposed to water or UV light.
Applying caulk in very cold or very hot temperatures.
Why it happens: Homeowners often caulk on the same day they notice a problem, without considering ambient temperature. Caulk applied below roughly 40°F doesn't cure evenly and can crack as it contracts; in excessive heat it can skin over before bonding properly.
Applying one thick bead to fill a gap larger than about half an inch.
Why it happens: A big gap seems to call for a big bead, and it's tempting to solve it in one pass. But thick caulk can't cure uniformly - the outer surface dries and forms a skin while the interior remains soft, which leads to surface cracks.
Smoothing the bead dry or waiting too long to tool it.
Why it happens: It seems safer to let caulk set slightly before smoothing so it doesn't pull away from the joint, but even a few minutes of skinning makes tooling difficult and creates drag marks and voids.
Getting Your Application Right the First Time
Beyond avoiding the mistakes listed above, a few habits separate a lasting caulk job from one that looks good for a week. Cut your caulk tube nozzle at a shallow angle - roughly 30 to 45 degrees - and trim the opening no wider than the gap you're filling. A smaller opening gives you better control and reduces the temptation to overfill.
Pull the caulk gun steadily along the joint rather than pushing it. Pulling draws the caulk into the gap and produces a more consistent bead. After laying the bead, tool it immediately with a wet finger or a caulk-finishing tool to compress it slightly into the joint and create a concave profile, which handles movement better than a flat or convex bead.
Don't Caulk Over Mold or Active Moisture
If you see black or pink mold in the joint, caulking over it traps the mold beneath the surface where it continues to spread. Address any mold with an appropriate cleaner, allow the area to dry fully, and investigate the source of persistent moisture before resealing. Caulk is a surface sealant - it does not fix an underlying water intrusion problem.
Finally, protect freshly applied caulk from water and temperature swings during curing - most products need 24 hours before any water exposure, and some silicone formulations need up to 48 hours. Check the manufacturer's label for the product you're using. Rushing this step is one of the fastest ways to undo an otherwise solid application.