

Key Takeaways
Matching the Repair to the Hole
Not every wall blemish calls for the same fix. Using the wrong approach wastes time and material, while the right one makes the repair nearly invisible. Use this quick guide to size up what you're dealing with:
- Nail holes and small dents (under ¼ inch): A single pass of lightweight spackle, let dry, sand flush - done in minutes.
- Small holes up to 4 inches: A self-adhesive fiberglass mesh patch backed by two or three coats of joint compound (also called mud) is the fastest route.
- Fist-sized holes (4-8 inches) and larger: You need a rigid backing - either a purpose-made drywall repair clip or a wood furring strip - to anchor a cut piece of new drywall before mudding.
If you're patching walls before mounting artwork, our gallery wall planning guide shows how to mark stud locations so you avoid unnecessary holes in the future.
What you will need
Tools and Materials You'll Need
Gather everything before you start. Stopping mid-repair to hunt for sandpaper or primer extends drying time unpredictably and can leave edges that harden unevenly.
Lightweight spackle or pre-mixed joint compound
Fills holes and provides a smooth, sandable surface for finishing.
Putty knife (3-inch and 6-inch)
Applies and feathers compound across the patch area.
Self-adhesive fiberglass mesh patch
Bridges holes up to 4 inches and provides a rigid base for compound.
Drywall repair clips or wood furring strips
Create a rigid backing to anchor replacement drywall in large-hole repairs.
Sandpaper (120-grit and 220-grit)
Smooths dried compound between coats and prepares the final surface for paint.
Drywall or PVA primer
Seals the porous compound so topcoat paint adheres evenly without flashing.
Drywall screws (1¼-inch)
Fasten replacement drywall pieces to backing boards or clips.
For larger repairs requiring a backing board, you'll also need a drywall saw (also called a jab saw) and a T-square or straightedge to cut a clean replacement piece. Always wear safety glasses when cutting drywall - the gypsum dust is fine and irritating.
Step-by-Step Repair Instructions
Follow these steps in sequence. The techniques scale from small to large holes - skip to Step 3 for mesh patches or Step 5 for backing-board repairs if you're already past the prep stage.
Clean and prep the damaged area
Remove any loose paper facing, crumbled gypsum, or protruding fasteners. Use the corner of your putty knife to scrape back torn drywall paper - it won't bond well and will bubble under compound. For holes with ragged edges, trim them square with a utility knife; a clean edge holds compound better than a jagged one.
Fill nail holes and minor dents with spackle
For holes under ¼ inch, press a small amount of lightweight spackle into the void with a fingertip or the corner of a putty knife. Drag the knife flat across the surface to remove excess so the compound sits level with the wall - do not overfill. Let it dry fully (it will turn from pink to white if you're using a shrink-indicator product, or simply whiten if using standard spackle), then sand flush with 220-grit paper.
Apply a mesh patch for holes up to 4 inches
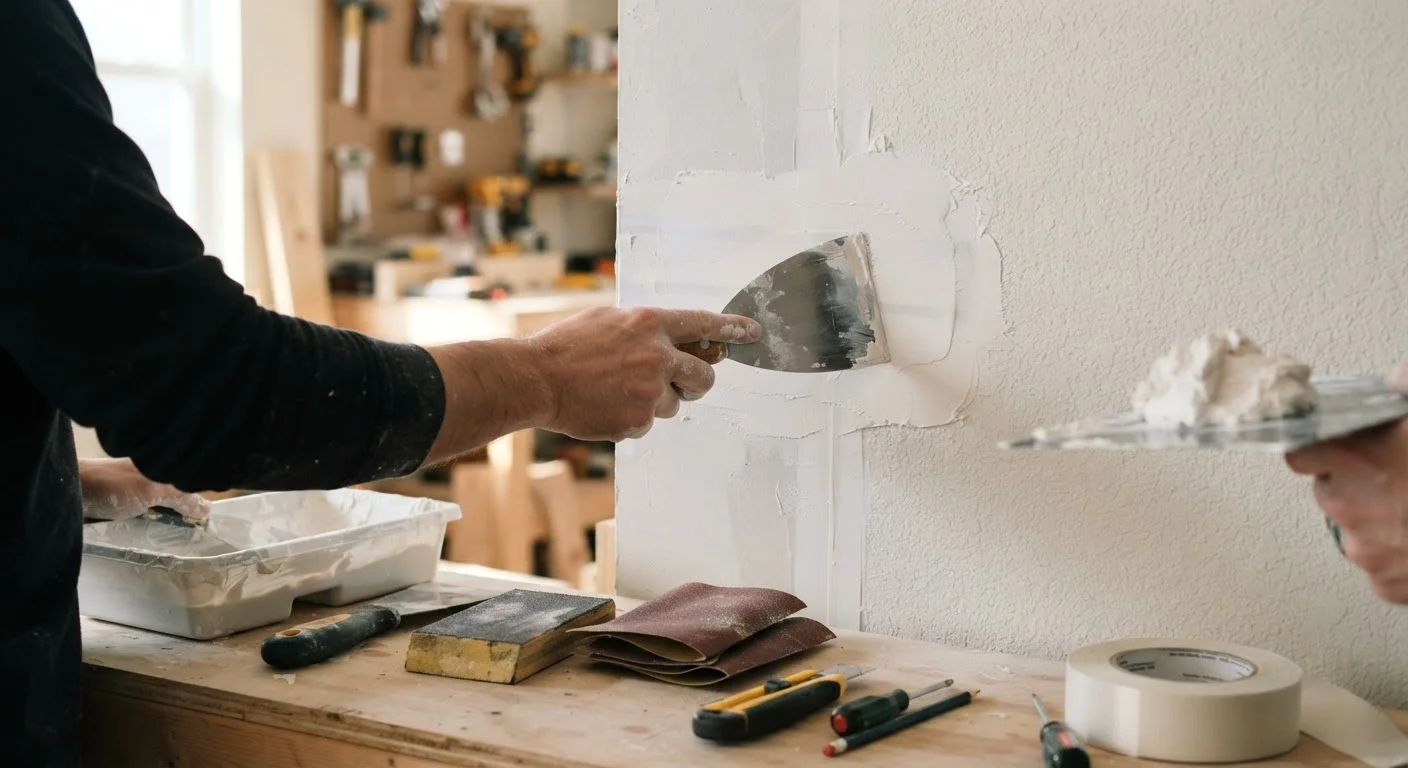
Peel the backing from a self-adhesive fiberglass mesh patch and center it over the hole, pressing firmly so all edges adhere to the wall. Using your 6-inch knife, apply a coat of joint compound over the entire patch, working it into the mesh weave and feathering the edges outward 2-3 inches beyond the patch boundary. Let dry completely - typically 4 to 8 hours depending on humidity.
Apply a second coat, extending the feathering another inch or two. A third thin skim coat is often needed to hide the mesh texture. Sand lightly between each coat with 120-grit, and use 220-grit after the final coat.
Cut and install a backing board for larger holes
For holes larger than 4 inches, you need something rigid to screw into. Two approaches work well:
- Drywall repair clips: Insert the clip through the hole, pull the tab tight against the face of the wall, then snap off the tab. Repeat around the hole perimeter. These create instant anchor points without cutting the opening larger.
- Wood furring strips: Cut a piece of 1×3 or 1×4 lumber slightly longer than the hole's height. Slide it behind the drywall, hold it firmly against the back face, and drive 1¼-inch drywall screws through the existing drywall into the strip on both sides of the hole.
Once backing is secured, cut your replacement drywall piece to fit snugly (a tight but not forced fit). Screw it to the backing with 1¼-inch drywall screws, sinking the head just below the surface without breaking the paper.
Tape and mud the seams on larger patches
Apply a thin bed coat of joint compound along each seam where the replacement drywall meets the existing wall. While it's still wet, embed paper drywall tape (or fiberglass mesh tape) into the compound, smoothing it flat with the putty knife. Paper tape produces a stronger seam than mesh for butt joints. Apply a second coat over the tape, feathering well past the tape edges. A third skim coat levels any ridges. Sand between coats.
Prime and inspect before painting
Once the final coat is sanded smooth, wipe away dust with a dry cloth or tack cloth. Apply one full coat of drywall primer and let it dry per the manufacturer's directions. After priming, take a work light and hold it at a raking angle across the repair - this side-lighting reveals any remaining ridges or low spots. Touch up with a final skim of compound if needed, sand, and re-prime that spot before painting.
Once the wall is smooth and fully primed, a fresh coat of paint pulls the whole repair together. For ideas on coordinating that touch-up with a broader room refresh, see our guide on small-scale upgrades that transform a room.
Getting a Paint-Ready Finish
The difference between a patch that's invisible and one that telegraphs itself from across the room usually comes down to two things: feathering and priming.
Feathering means gradually thinning each coat of compound as you spread it outward from the repair, blending it into the flat wall surface. Hold the knife at a shallow angle and use long, overlapping strokes. Sand between every coat - 120-grit to knock down ridges, then 220-grit for final smoothing - but always wait for complete dryness first. Rushing this step tears the compound surface and creates more work.
Priming is non-negotiable. Joint compound is highly porous and will absorb the first coat of paint unevenly, leaving a dull, flat spot (called flashing) even if the texture perfectly matches. A single coat of drywall primer - or a PVA primer for larger patches - seals the compound so the topcoat behaves consistently across the whole wall.
If your home is older and you suspect the original walls were finished with an oil-based paint, test a small area before applying a water-based primer; adhesion can differ. And if crumbling or water-stained drywall suggests a moisture problem behind the wall, address that source first. Patching over an active leak is a temporary fix at best. For related weatherproofing concerns, our pre-winter sealing walkthrough covers gaps and penetrations that can allow moisture intrusion.