

Key Takeaways
Why Small Upgrades Make a Bigger Impression Than You Expect
A full gut renovation is one way to transform a room. But for most homeowners, the smarter path runs through targeted, surface-level changes that shift how a space is perceived without touching a single load-bearing wall. Tile, paint, and trim work together as a visual system - alter one element thoughtfully, and the whole room recalibrates.
Before diving into any surface upgrade, it's worth pausing to clarify your goals. A pre-project clarity checklist can help you prioritize which changes will have the most impact for your specific space and budget. Once you're clear on direction, the upgrades below offer a reliable return on both effort and investment.
Repair walls before you reach for the roller
Paint is not a filler - it's a revealer. Raking light across a wall with imperfections will show every ding, pop, and hairline crack more starkly after painting than before. The fix is surface prep: fill nail holes and small dents with lightweight spackle, sand smooth once dry, and spot-prime before rolling the full wall.
For anything larger than a scuff, drywall patching techniques range from simple spackle fills to mesh-backed patches for fist-sized gaps. Getting this step right is what separates a paint job that looks DIY from one that looks professionally finished.
Paint reveals imperfections - surface prep is what separates a DIY look from a polished finish.
Choose your sheen as deliberately as your color
Paint sheen is a functional decision, not just an aesthetic one. Flat and matte finishes absorb light and minimize texture variation, making them forgiving on imperfect walls but harder to wipe clean. Satin and eggshell offer a middle ground - they clean up more easily and reflect just enough light to add depth without becoming reflective.
Gloss and semi-gloss finishes are typically reserved for trim, cabinets, and high-moisture areas like bathrooms and kitchens. On walls, they highlight every brush mark and roller stipple. Match the sheen to the wall's condition and the room's purpose. And before committing to a full room, revisit common paint myths - including why primer is rarely optional.
Sheen determines how light behaves on a wall - choose it based on function, not just preference.
Use an accent wall strategically, not randomly
An accent wall works when it reinforces the room's architecture - a wall behind a headboard, the back of a built-in niche, or the wall a fireplace anchors. It fails when it's applied to a random surface simply for contrast. The goal is to draw the eye to something that deserves emphasis.
Color isn't the only tool. Texture, pattern, and layered finishes can do the same work. Understanding how color, pattern, and texture interact helps you make confident choices rather than defaulting to a single bold paint color and hoping for the best.
An accent wall should reinforce architecture - it works best when it points to something worth noticing.
Install or replace baseboard and door casing
Trim is the frame a room puts around itself. Thin, builder-grade baseboard in a room with high ceilings looks out of scale and unfinished. Replacing it - or simply adding a second, taller piece on top of existing baseboard - creates visual weight that grounds the walls and makes the space feel more intentional.
Door casing (the molding surrounding door frames) is equally impactful. Rooms where doors look as though they were simply cut into drywall feel incomplete. Simple flat-profile casing with a backband edge adds definition without requiring ornate millwork skills. These are generally manageable DIY projects with a miter saw, finish nailer, and caulk - though if you're cutting trim on stairs or around unusual angles, it's worth consulting a finish carpenter.
Trim frames a room the way a mat frames a print - it makes everything inside it look more considered.
Add a tile moment rather than retiling everything
Full floor or shower retiling is a significant project - one that involves demolition, waterproofing, and in many cases, permits. But a focused tile accent in a single location can achieve a comparable visual punch at a fraction of the cost and complexity.
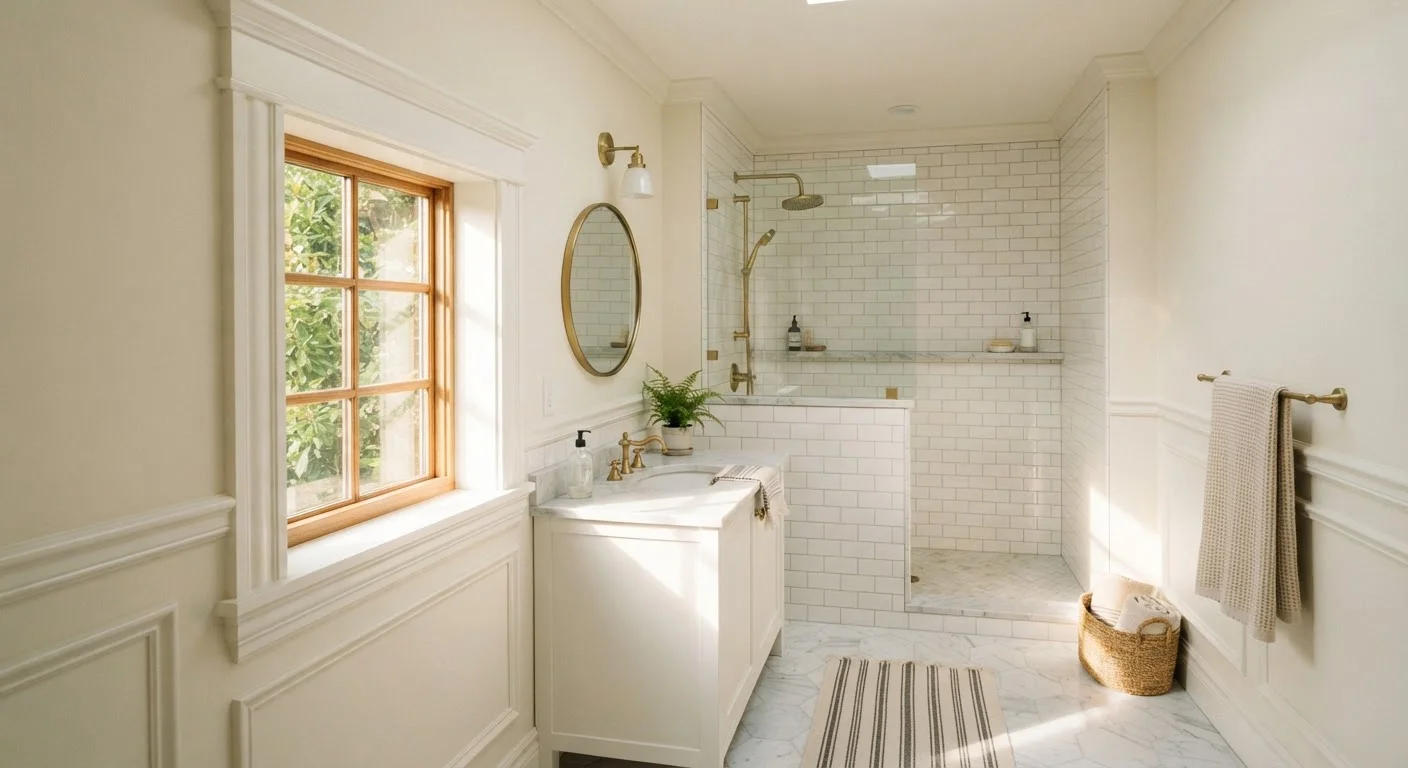
Consider: a tiled niche inside an existing shower surround, a decorative tile inset behind a freestanding tub, a small mosaic section on a kitchen backsplash between two runs of field tile, or a bordered tile entry mat pattern inset into existing flooring. These concentrated applications treat tile as an art element rather than a covering, and they're achievable without disrupting adjacent surfaces. Always use appropriate setting materials and grout for wet areas - consult tile manufacturer guidance for substrate compatibility before starting.
A focused tile accent delivers the visual impact of a full retile at a fraction of the scope and cost.
Caulk, then paint - don't skip the caulk
Gaps between trim and wall, around window casings, or along the top of baseboard are where amateur finishes reveal themselves. Paint will not bridge these gaps cleanly - it emphasizes them. A thin, consistent bead of paintable caulk, smoothed with a damp finger, closes those lines and creates the seamless joint that makes trim appear built-in rather than applied.
Use painter's tape on both sides of the joint if you're new to caulking - it creates crisp edges and limits cleanup. Allow the caulk to cure per the manufacturer's instructions before painting over it. This single step, often skipped in the interest of speed, is responsible for much of the difference between a room that looks finished and one that looks almost finished.
Caulk before you paint - it closes the gaps that separate a finished look from an almost-finished one.
Putting It All Together
These upgrades work individually, but they compound when layered. A freshly painted room with repaired walls, updated trim, and a focused tile moment reads as a considered, well-finished space - even if the furniture and layout haven't changed at all. For rooms that feel tight or awkward, pairing surface upgrades with smart layout choices amplifies the result; see decorating strategies for compact rooms for guidance on making every square foot count.
If you're weighing whether to go further with a larger renovation, understand what that actually entails first. Bathroom remodels in particular regularly surface hidden issues that small upgrades won't. Know what you're stepping into before you expand scope.
Test Paint Colors in Context
Always evaluate paint samples on the actual wall in the room where they'll be used - not on a white sample card. Light conditions shift dramatically between morning and evening and between rooms with different window exposures. Paint a sample patch at least 12 inches square and observe it at multiple times of day before committing to a full gallon.