

Key Takeaways
Why Composting Is Worth Your Time
Composting is one of the most practical things a home gardener can do. It diverts organic waste from landfills and produces a free, high-quality soil amendment that improves drainage in clay soils, boosts moisture retention in sandy soils, and feeds the microbial life that plants depend on. If you're starting a vegetable garden or improving an existing bed, finished compost is one of the most effective amendments you can add.
The basic science is straightforward: microorganisms break down organic matter into humus, a stable material rich in nutrients and beneficial structure. Your job is to give those microorganisms the right environment - the right materials, moisture, and airflow - and let them do the work.
Understanding what compost does to your soil is equally useful. For a deeper look at soil composition and why it matters, see our companion article on soil health fundamentals.
Start Small and Scale Up
If you're new to composting, begin with a single bin rather than trying to manage multiple systems at once. Once you're comfortable with the basics - maintaining moisture, turning frequency, and the greens-to-browns ratio - adding a second bin for continuous production becomes much more manageable.
What You'll Need Before You Start
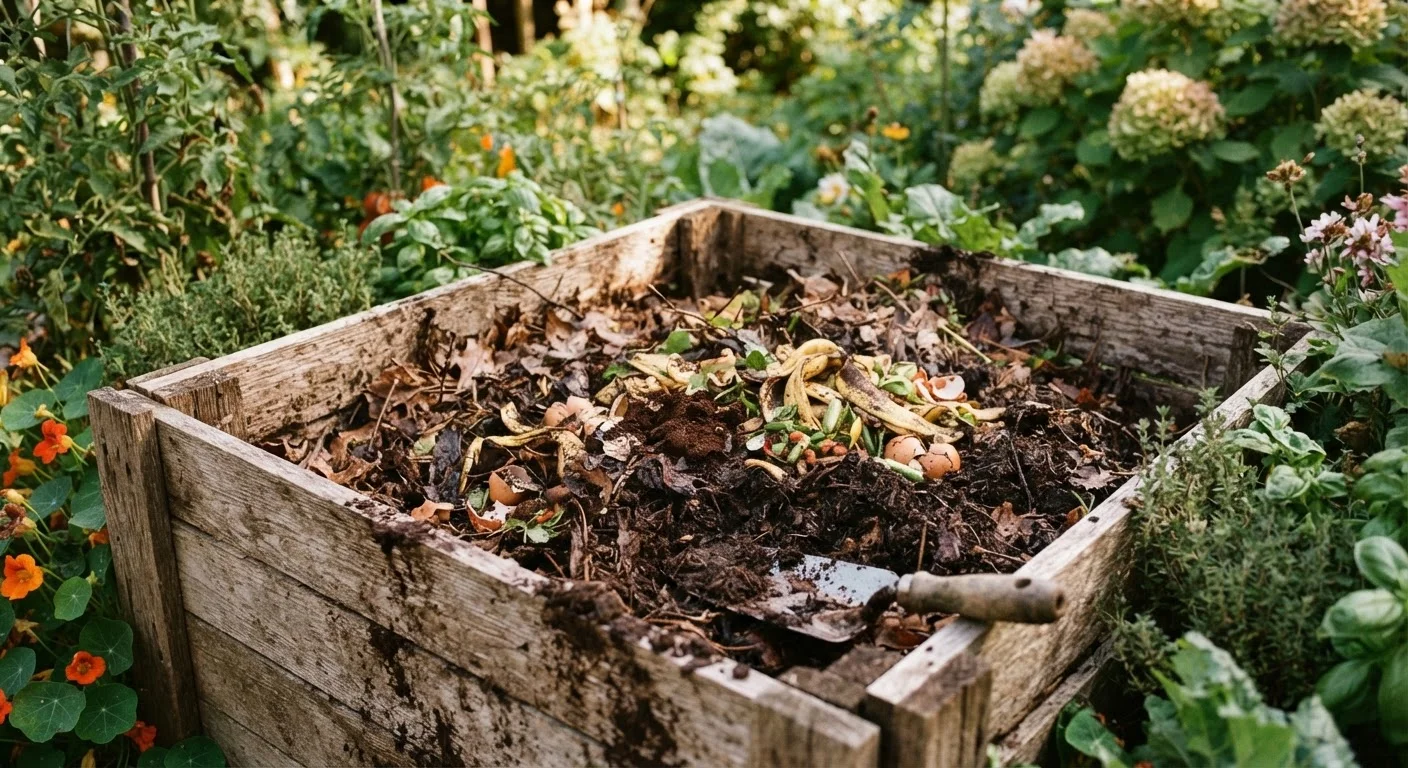
You don't need expensive equipment to compost effectively. A designated outdoor space at least three feet square, a basic bin or DIY enclosure, and a consistent supply of organic material are the core requirements. The tools below will help the process run more smoothly.
Compost bin or enclosure
Contains the pile, retains heat, and discourages pests - can be purchased or built from pallets or wire fencing.
Garden fork or compost aerator
Used to turn the pile regularly, introducing oxygen to keep decomposition active.
Garden hose or watering can
Keeps the pile at the right moisture level - similar to a wrung-out sponge.
Kitchen scrap container with lid
Collects food scraps on the counter or under the sink before transferring them to the outdoor bin.
Thermometer (compost or probe type)
Lets you monitor internal pile temperature, confirming active decomposition between 130-160°F.
What you will need
Step-by-Step: Building and Managing Your Compost System
Follow these steps to get a productive compost pile started and keep it actively breaking down. Whether you're using a purchased tumbler, a wire hoop, or a simple pile in the corner of your yard, the underlying principles are the same.
Choose and set up your bin location
Select a level, well-drained spot with partial shade - full sun dries the pile too quickly; deep shade slows decomposition. Place your bin or mark out your pile area at least 10 feet from the house to minimize pest proximity and odor concerns. Good drainage underneath prevents waterlogging.
Gather your greens and browns
Greens (high in nitrogen): vegetable and fruit scraps, coffee grounds and paper filters, fresh grass clippings, and plant trimmings. Browns (high in carbon): dry leaves, cardboard torn into small pieces, newspaper, straw, and wood chips. Aim for roughly three parts browns to one part greens by volume. This ratio keeps the pile from getting soggy or smelly while ensuring microbes have enough nitrogen to thrive.
- Compostable: fruit and vegetable scraps, eggshells, tea bags (paper), yard trimmings, shredded cardboard
- Avoid: meat, fish, dairy, oily foods, pet waste, diseased plants, or anything treated with persistent pesticides
Layer your materials and add water
Start with a 4-6 inch layer of coarse browns at the base - this aids drainage and airflow. Add a 2-3 inch layer of greens on top, then repeat, alternating layers. After building a few layers, water the pile until it feels evenly moist throughout but not dripping. Think of the moisture level as a wrung-out sponge.
Turn the pile regularly
Turning introduces oxygen, which fuels the aerobic microbes doing the decomposition. In the active phase, turn the pile every 5-7 days using a garden fork or aerator, moving material from the outer edges into the center. You can extend this to every two to three weeks once the pile matures and activity slows.
Monitor and maintain over time
Check moisture every one to two weeks - the pile should never dry out completely. Continue adding kitchen scraps as you generate them, always burying new greens under a layer of browns to suppress odors and deter pests. A well-managed pile in warm weather can produce finished compost in as little as 8-12 weeks; a less-tended pile may take 6-12 months.
Harvest and use your finished compost
Compost is ready when it looks dark and crumbly, smells earthy (like forest floor), and no original materials are recognizable. Sift out any large unfinished chunks and return them to the active pile. Use finished compost as a 1-3 inch top dressing on garden beds, mix it into planting holes, or work it into the top few inches of soil before seeding. Whether you're tending raised beds or in-ground plots, finished compost improves structure and nutrient availability in both setups.
Avoid These Common Compost Mistakes
Never add meat, fish, dairy, or oily cooked foods to a home compost bin - these attract rodents and create persistent odors that are difficult to correct. Similarly, avoid composting plant material that shows signs of disease or pest infestation, as home piles rarely reach temperatures high enough to reliably kill pathogens or eggs.
Troubleshooting Common Compost Problems
Even well-managed piles can run into issues. Here's how to diagnose and fix the most common ones:
- Pile smells bad
- Usually a sign of too many greens, compaction, or excess moisture. Add more browns, turn the pile to introduce air, and cover it loosely if rain is heavy.
- Nothing is breaking down
- The pile is likely too dry or too carbon-heavy. Water it to the dampness of a wrung-out sponge and mix in fresh green material.
- Pests are getting in
- Avoid adding meat, dairy, or cooked food. A lidded bin or a wire mesh barrier at the base helps deter rodents.
- Pile is hot only in the center
- This is normal - turn the pile to move outer material into the center so it gets processed evenly.
Once your compost is finished, it can be mixed into planting beds, used as a top dressing, or blended into container mixes. If you grow in containers, our guide on container gardening soil mixes explains how to incorporate amendments effectively. Finished compost also pairs well with mulch - read more about how garden mulch supports soil health for a complete picture. Composting is also one of the lowest-cost garden improvements available; it fits naturally into a smart spending approach to home and garden by turning waste into a resource you'd otherwise purchase.